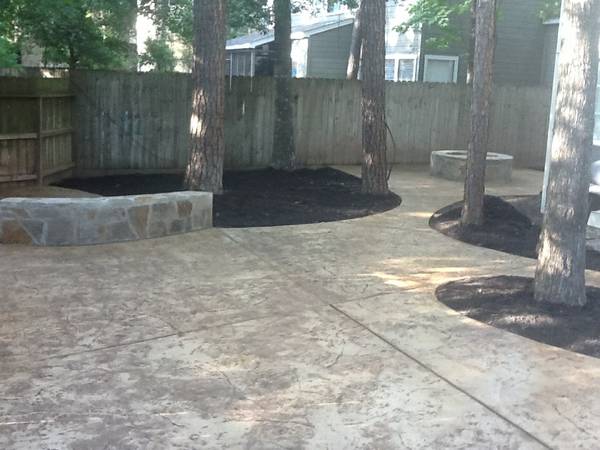
Stamped Concrete
Everything You Need to Know About Stamped Concrete
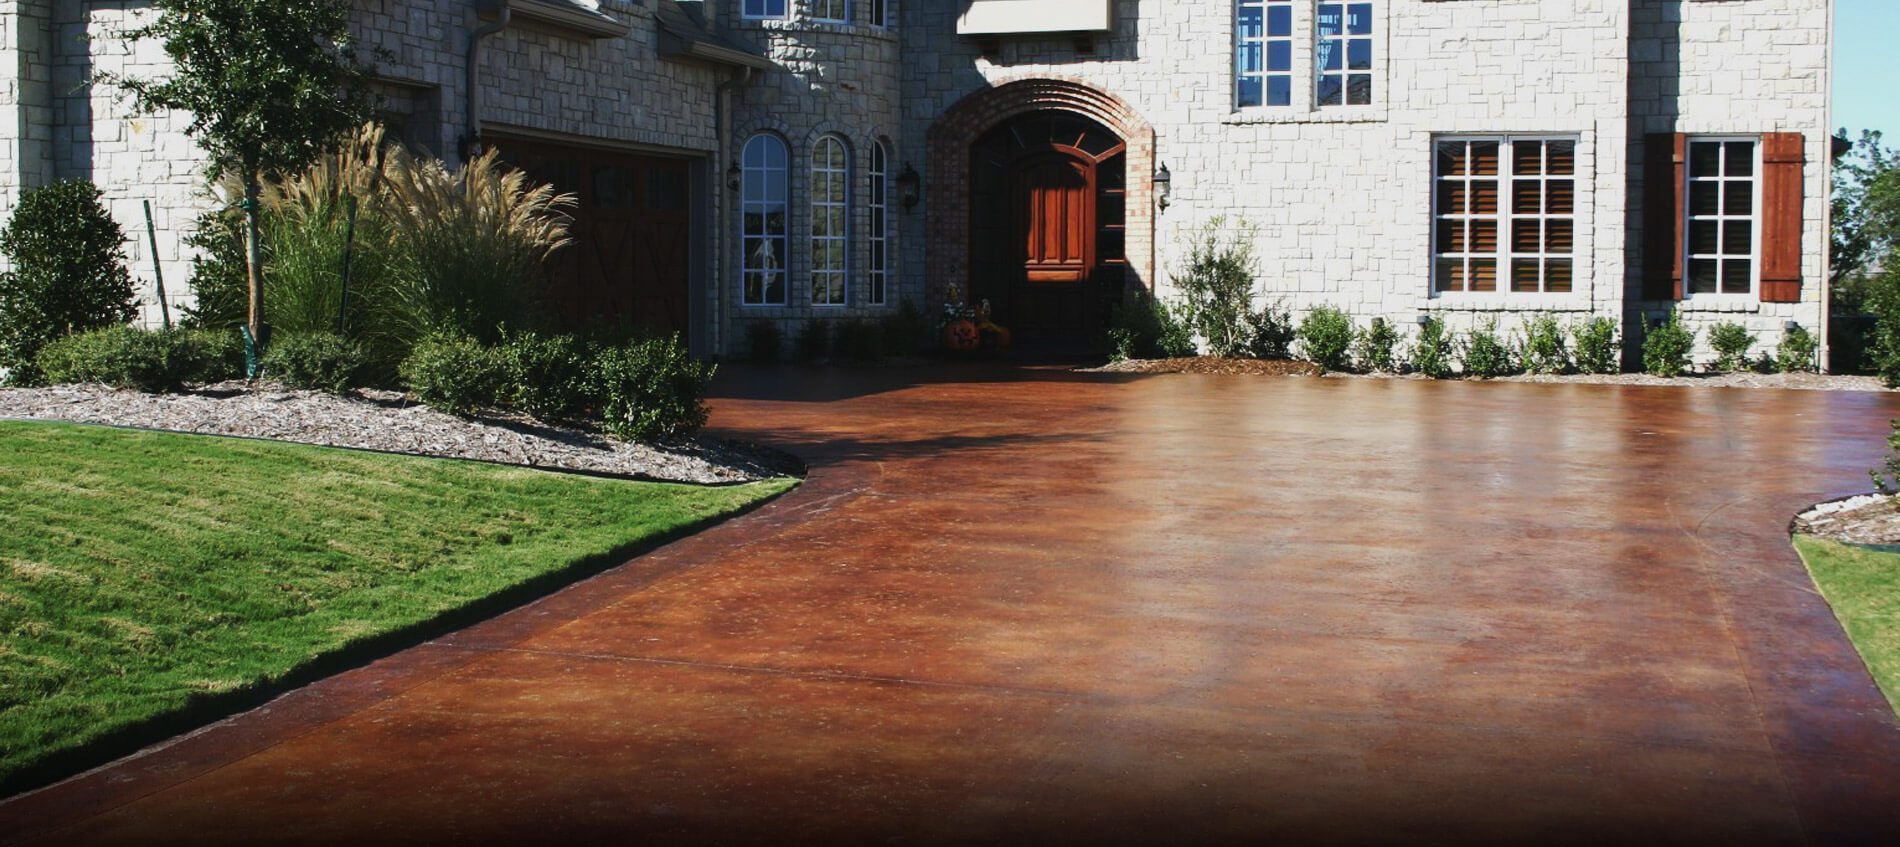
Stamped concrete has been around for about 30 years now and the process has ever been improving since. Stamped concrete is a process by which the concrete is placed and finished. As the concrete begins to harden, rubber mats are placed in on top and stamped or beaten into the surface creating impressions that vary from stone, tile, wood planks, brick, and paver patterns. The finished product is a realistic natural look that is only a few dollars more than the concrete would’ve otherwise cost. Very affordable when poring new concrete, stamped concrete can also be added to existing concrete by way of concrete overlays and 2 inch caps of concrete. You will enjoy your stamped concrete for years to come.
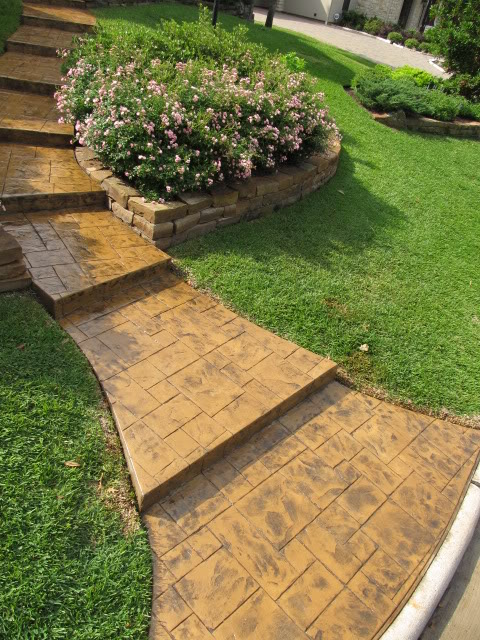
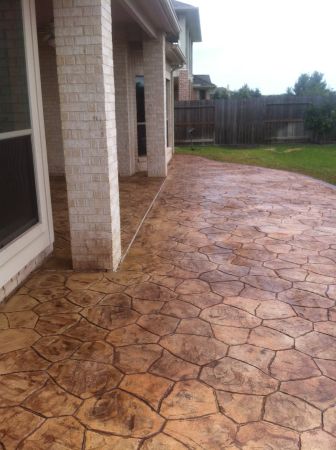
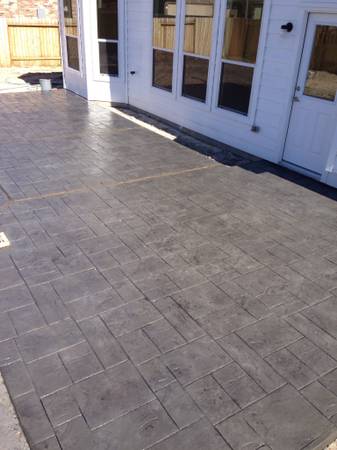
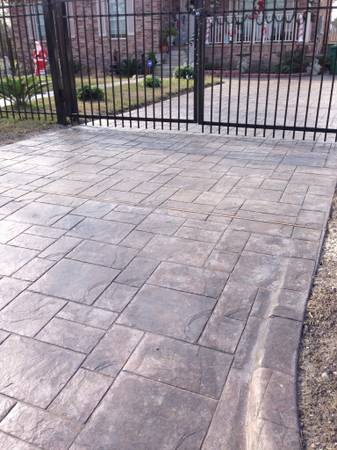
There are 2 types of stamped concrete, the first of which is patterned concrete. Pattern stamped concrete is the most common and popular. Pattern stamped concrete consists of a repeating patterns with grout lines. Tile, brick, stone, wood plank, are all repeating or patterned concrete.
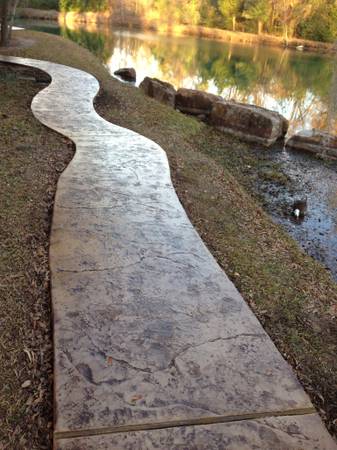
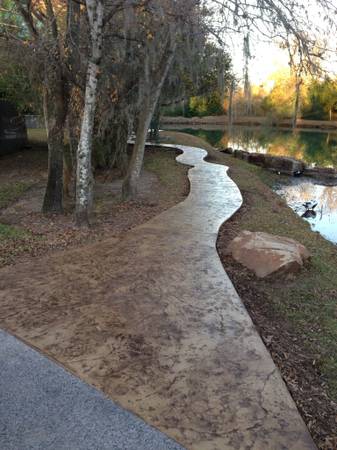
The second type of stamped concrete is seamless texture stamped concrete. Seamless texture stamped concrete consists of just the texture without repeating lines. This creates a nice finish with a more open style. A patio could look like a single slab of heavy stone or slate. This often a popular choice for landscape architects who want to added color and texture without competing for attention with other elements in the landscape. The texture stamp can also be scored for a large tile pattern unavailable with pattern stamps.

There 3 ways to color stamped concrete:
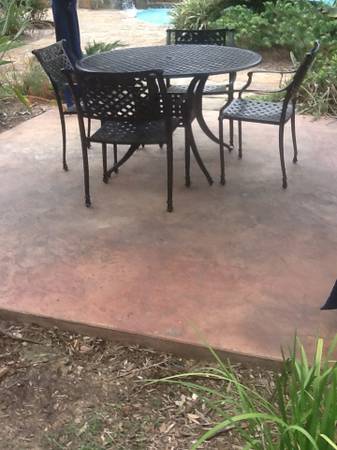
The first and our favorite is integral color. Integral color is added to the concrete and mixed in the truck. This create a color that is consistent and thoroughly a part of your new concrete, hence the name integral color. This process is the best choice for stamped concrete because it never wears out, scratches, chips, or fades. An integral color chart can be found here: http://www.butterfieldcolor.com/decorative-concrete-colors.php
The second method for coloring stamped concrete is broadcasting color hardener after pouring. This methods is a good choice when using colors lighter than grey and vibrant colors such as red, green, and blue. The color hardener actually hardens the surface of the cement, adding to the durability. Color hardeners are also used when coloring the concrete would be cost prohibitive (such as a foundation pour). A good use of color hardeners is as a way to highlight the base color of your stamped concrete in advanced coloring techniques. We find that the overall color quality and stamp detail is better in integral colored concrete, however color hardener is still a popular choice for many of our customers. A color pallete can be found here: http://www.butterfieldcolor.com/concrete-color-hardener.php The third and least often used methods for coloring your stamped concrete is acid staining, stained stamped concrete creates a truly unique look the is very rustic and earthy. Not for everyone, stained and stamped concrete creates a truly unique appearance.
Either color hardened or integrally colored stamped concrete is highlighted with an antique release. This antique release creates the darker two color effect by being pressed into concrete via the rubber stamping. Where ever the concrete stamp pushes the antique release furthest into the concrete is where it will stick the hardest creates dark grout lines and two tone texture. You can use multiple highlights or antique releases for a more rustic or old world look. A lighter base color and darker antique release colors are the way the color combinations works. See antique release chart here: http://www.butterfieldcolor.com/release-agents.php
After being stamped, the concrete and surrounding areas are washed, dried and then sealed using a color enhancing oil based high quality sealer. Usually we will add a slippage additive to make sure that there is plenty of traction on your new stamped concrete. We recommend a yearly re-seal to be performed by either the customer or us. When reapplying the sealer the slippage additive is also reapplied as needed. We guarantee our installations for color fastness and workmanship. We always utilize best practice of concrete placement including the use of rebar at 16” intervals, 3000 psi concrete at no less than 4” depth, proper subgrade preparation, sloping for drainage, doweling into foundation, and proper placement of expansion and control joints. Modern concrete has come a long way and you can expect the installation to last for many more years than the concrete of 20 years ago that you are likely replacing.


Benefits of Stamped Concrete
- 1. Cost of stamped concrete is a fraction of what real stone brick or other hardscape materials will cost.
- 2. Virtually no maintenance or replacement, reseal once a year and that’s it. Other masonry products will shift, and need to be reset or re grouted. Pavers will eventually start to sink and buckle. Wood decks are constantly rotting and in need of staining or painting.
- 3. The customization of colors are truly unique, we can compliments the colors of your house with over 500 different color schemes.
- 4. Curves and shaping of concrete forms is a lot easier with stamped concrete. Do you want a sweeping radius with a border? Winding sidewalks and circular area for a fire pit? We can do that.
- 5. Stamped concrete is an upgrade that will not only improve the look but also the resale value of your property. Regular concrete always looks worse with time. Stamped concrete stays looking great throughout the life of a building.
Stamped concrete is becoming ever popular due to the rich color and style being achieved with a relatively low cost. The typical stamped concrete project we do is a back patio from the 400-500 square foot range. We typically charge $8 per square foot at this size range. Usually someone has some existing concrete. If part of foundation, we typically put a two inch cap on it given the ability to raise overall height 2”. If flatwork or non-structural concrete we will either break it out or if in good condition, cap this as well. All sprinkler heads will be capped and rerouted as needed. If drainage requirements or complex sprinkler rezoning is required we get a licensed irrigation company to do as much at the customers expense.
For the construction of the pad we will cut out any sod and grade the area to slope away from the house and construct the forms and install rebar. Rebar is typically #3 or 3/8ths inch wide at 16” spacing. Treated 1 by 4 expansions joints and 1 by 2 control joints are place at an average of 12 lineal feet. Steel dowels are drilled and placed in adjacent foundation to “pin” the new slab in place with foundation. This prevents separation of house foundations and patio in the decades to come. This is standard high quality construction from the structural aspect. We never use wire mesh or subpar dirt preparation. Once the stamped concrete is placed any sides of slab are backfilled with dirt and the customer should take care to keep dirt high on the side in order to prevent dirt from wash out underneath the slab.
Typical Project is 3 days:
Upon start of work, we will layout and mark all the boundaries of the patio with the customer. After forming we will do a secondary walkthrough with the customer for any minor adjustments to the forms. Depending on the day and when we get concrete rebar is done, or left for the day of the pour.
The day of the pour we will typically add the first color to the truck and use a motorized buggy to deliver it to the work area. If a gate is not wide enough to accommodate oftentimes we will make a hole in your fence to be carefully reconstructed. If this is not an option we can wheel barrow it for an additional charge. Plywood is always utilized to keep grass from being destroyed in transport of concrete in either case. The concrete is colored delivered and finished to a degree sufficient to stamp. The antique release(s) are broadcast unto color concrete and the entire area is stamped.
The final day of stamping concrete consists of washing everything down and then sealing the concrete twice with a quality sealer and a slippage additive. You can walk on your new stamped concrete the next day but no furniture or heavy items for one week.
Tips:
- 1. Picking the right color will go a long way into making your stamped concrete look great. From years of experience I can almost always recommend, a base color that matches the overall color of your home and 1-2 darker releases colors.
- 2. Sometimes corners and straight lines are your only choice, if not curves are great way to enhance the overall appeal without additional expense. Borders, colored darker, or left plain and smooth will accent any stamped concrete patio nicely.
- 3. Are you doing a back patio? The front entryway is usually a great and affordable add on often overlooked. Need some extra driveway? We can add some concrete wherever you might need it.
- 4. The stamped concrete pattern selection is truly in the eye of the beholder and like colors it is a difficult choice to make. The only advice I can give you is not to have competing material. If you home has a brick façade don’t get a brick stamp. If it is finished in stone find something completely different. Choosing the same material will compete for attention and be a mismatch.
- 5. Do you plan on building a cover, fire pit or sitting area? Let us mark where those areas might be and reinforce those concrete areas with a little more steel and concrete. Building it right for the future use only takes a little forethought.
Concrete Experts has been installing stamped concrete in Houston for over 15 years. Let our expertise guide you.